Human Model Creation With a Rig for Later Work in Blender
Since I already mentioned earlier about the tools for Motion Capture in Blender. Today I want to continue this topic with a story about simple ways to create a human model in Blender. However, these methods are useful not only for Motion Capture. The final model will be with a rig ready for animation, and even with a set of ready-made animations.
Options for creating a human model with a rig in Blender
Before we start to review the simplest and fastest way, I’ll list other ways to create a human model in Blender for custom development can be.
Manual human modeling in Blender
The simplest and most obvious way is to model a human manually. Unfortunately, this is also the longest way. There are enough lessons on such modeling on YouTube, so I am not going to dwell on this method in detail. Nevertheless, I would like to point out that you can ease your task by using ready-made models as the basis for modeling. At the rigging stage, you can also simplify the job by not creating a skeleton from scratch but using the excellent Rigify plugin for these purposes (included in the standard Blender package, including version 2.8). With Rigify, you can create a rig in just one click. Again, there are a lot of videos on YouTube about how to attach the created rig to the mesh. Usually, the automatic linkage of the scales works quite high quality. Though, sometimes, it may be necessary to modify it slightly.
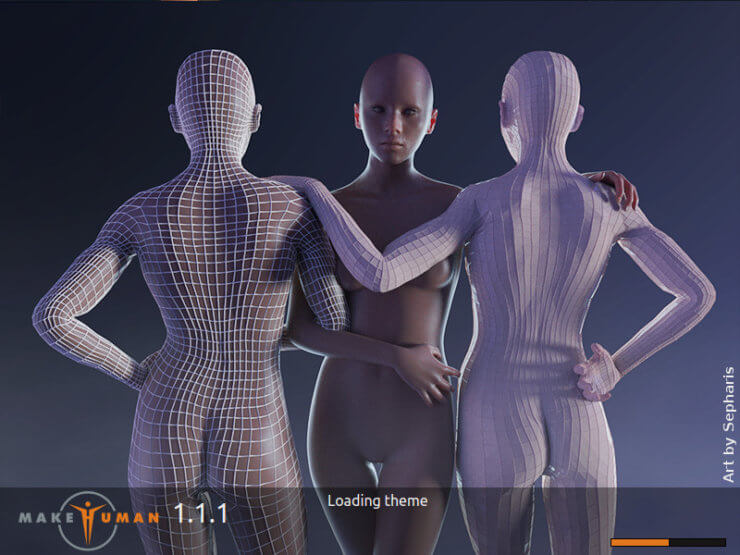
Using MakeHuman
MakeHuman is a free software for creating human models. It used to be an add-on to Blender, but it is an independent program today. The interface is quite convenient, but it is too far from the usage of the Fuse described below. The output model of the human turns out to be quite high-quality. It is possible to choose between several options for the mesh topology, as well as between several options for the rig (more simple for game engines and more detailed for advanced animation). There are also some nice additions, for example - a good library of poses.
But all the rest slows down on the creation of clothing for the character. By default, several clothes are included, but they are more suitable for demonstrating capabilities than for real usage. There is still another library of clothes created in a free community, but it looks like some trash and shame. I would not recommend it. You can create clothes for models in Blender and then import it back into MakeHuman. To do this, there were even created special add-ons for Blender. But again, it’s a bad headache to act this way. Not only is the process of modeling and texturing clothes in itself a rather laborious operation, but also working with the mentioned add-ons is far from the ideal of convenience and intuitiveness. Even if you buy or find free, ready-made models of clothing, pulling them onto a human’s model in MakeHuman is another challenge. By the way, exactly the same trouble with hairstyles. In short, it will not work quickly to make a high-quality finished model (unless of course, you are working on the next edition of the Kama Sutra, for which clothes are not needed).
Using the MB-Lab Add-on for Blender
Previously, this plugin was called Manuel Bastioni Lab, but, as is often the case with open-source software, at some point, the author lost interest in his creation and abandoned it (long before the release of Blender 2.8). Fortunately, the free community took this initiative and continued development, and now we have an add-on with the updated name MB-Lab, which works great in Blender 2.8. Here I must say that I like the principles of work and the final result more than after working with MakeHuman. That is, if you work in Blender, then the latter can be completely forgotten in favor of MB-Lab.
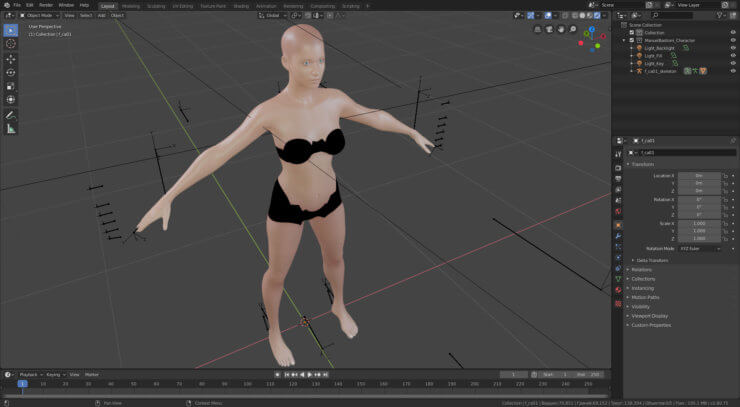
But again, there is a special condition that spoils everything. And here, the trouble is exactly the same as in the previous case - the add-on creates magnificent models of naked people, but you will have to dress them yourself. This is, of course, possible and makes sense in serious projects.
However, if you want to get a quick result, then it's worth taking a look at other solutions, such as Adobe Fuse, to which I want to devote the rest of the article.
Quick creation of a human model in Adobe Fuse and then export to Blender
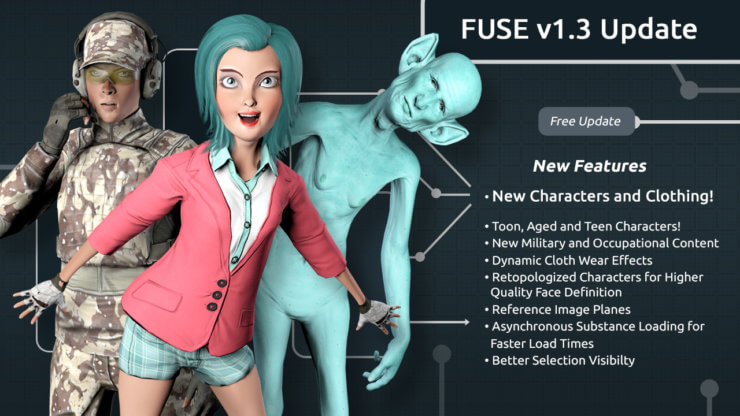
Adobe Fuse is a program for the quick creation of high-quality human models with the possibility of their subsequent animation. Like all products from Adobe, this program has versions for Windows and MacOS but not for Linux. But at the same time, there is a free Steam version that works great through Proton. I think the same version will work through regular Wine.
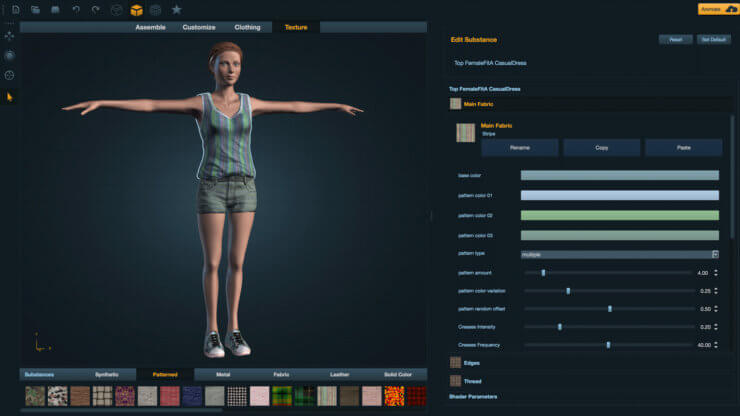
Fuse screenshots:
Procedure:
- Adobe Fuse creates a high-quality model of a human. And here we have the opportunity to customize anything, including clothes. Unlike the inconvenient and non-obvious engines in MakeHuman, using Fuse, you can visually and graphically create a human model. For example, if you want to increase the length of the nose, you simply grab the model by the nose and pull. Yes, everything is so simple. The output model can be saved in the “obj” format and immediately imported into Blender. However, getting to the result will not be without challenges; the most engraving one is without a rig. But this is not a problem because the best way is to not immediately export to Blender but to follow the next step...
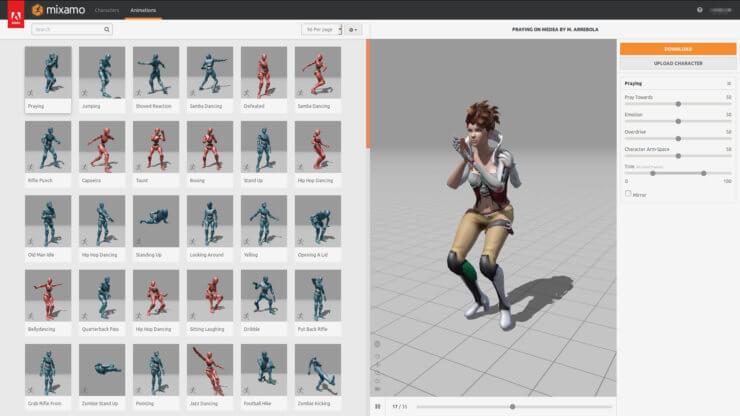
- The final model, with the click of a button in Fuse, can be exported to Mixamo. If someone does not know, this is another service from Adobe (which can be used for free) that allows you to create a skeleton and animation for a human model. This is a web service, so it works on any OS. To use it, you need to have an Adobe ID (that is, an Adobe account), but you can register it for free in a minute. In Mixamo, you can choose one of the proposed types of rigs and also, if you wish, immediately select the necessary poses and animations.
- Mixamo retains a format suitable for Blender with the rig. There are several formats suitable for Blender. For example, Collada has proven itself well.
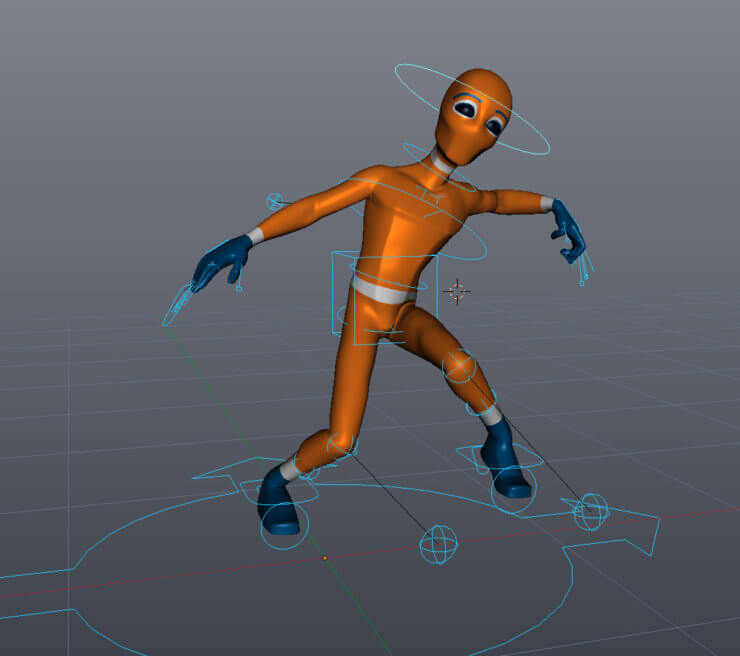
- We open the final model with the rig in Blender and do whatever we want with it.
- Profit!
Mixamo screenshots:
If listening in English is not a problem for you, then here is a good video with details on how to crank up this whole sequence (the video uses Blender 2.79, but there are practically no differences for Blender 2.8).
Everything would be fine, but there was a fly in the ointment. The method described above worked fine until recently. Now (at the time of writing this article), in the second step, when you try to send the model to Mixamo from the Steam version of Fuse, you will receive a message that the Fuse version is out of date (Fuse 1.3 is available on Steam) and Mixamo doesn’t match it. That is, the skeleton can not be created. You will be proposed to download the new version of Fuse, which already requires an adobe paid subscription, as I understand it from the negative reviews on the Fuse page in Steam.
But there is a workaround. You need to manually save the “obj” file from the Steam version of Fuse and download this “obj” manually on Mixamo. After that, they will offer to identify the key points of the model (elbows, knees, pelvis, etc.), and they will automatically create a skeleton. The result is quite high-quality, tested on my own experience. That is, the method is quite working.
That's all. Try it, and I hope you will enjoy this experience! Though if you feel like you would trust this task to a dedicated development team, then let's have a discussion!
Best regards,
Dmitry Zhart
Ardas Team